
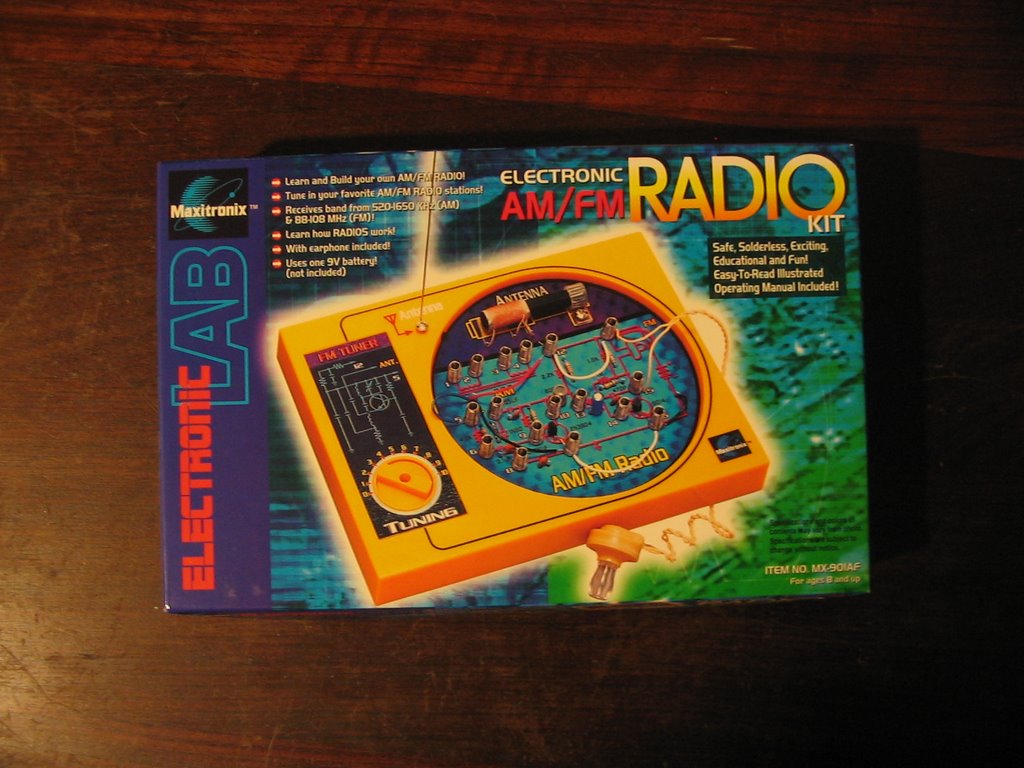
Edmund Scientific's Electronic AM/FM Radio Kit will give any young budding electronics hobbyist several hours of fun learning about diodes, capacitors and resistors. Even if you're not so young, the fact that you can learn about simple electronic components without plugging in a soldering gun is a great plus.

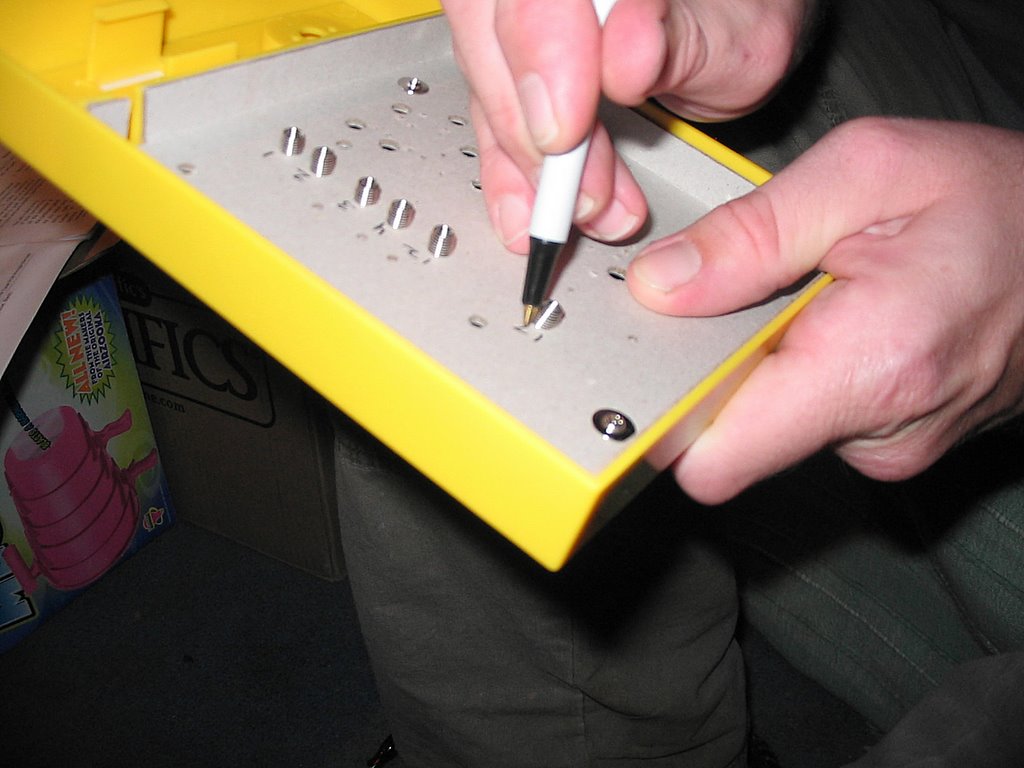
It all starts with this plastic template into which you insert some small springs.
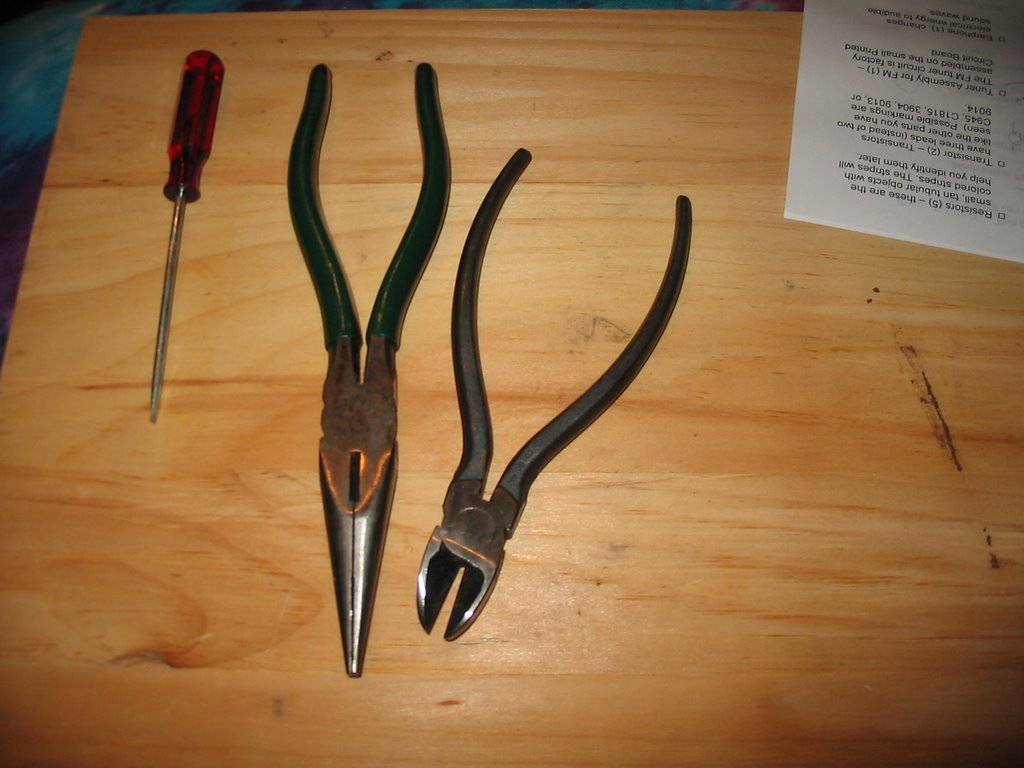
These are the only tools you'll need. Actually, you'll need a slightly smaller screwdriver than the one in this picture. My bad. But the important thing is no soldering. That's why this is safe fun for a young electronics experimenter. The box says it's safe for ages eight and up, but that would be a pretty intelligent eight-year-old. I'd recommend adult supervision.
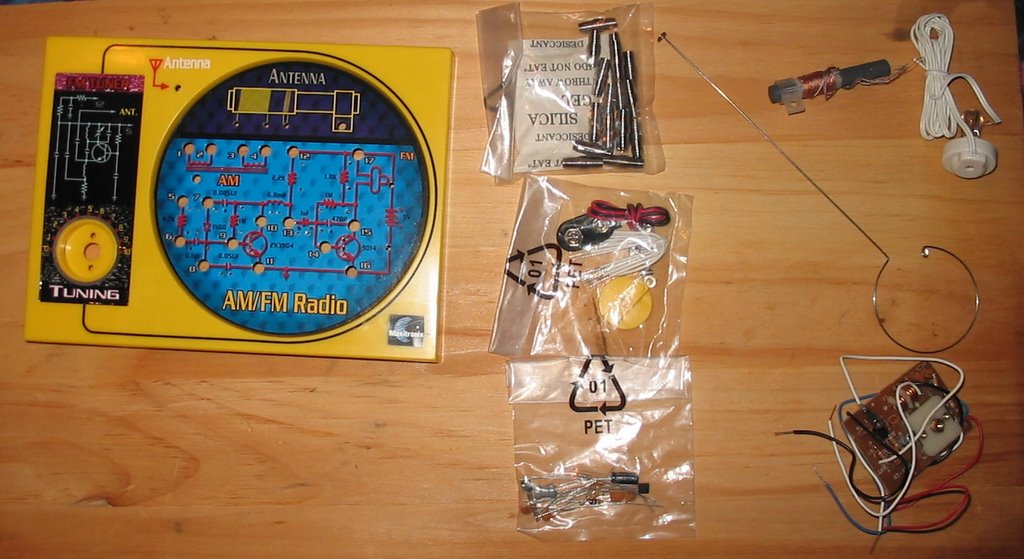
First we check all of the parts against the list in the instructions.
The next part doesn't require any tools. It's just putting the springs into the holes. The instructions recommended using a ballpoint pen or somesuch to get the springs firmly down into their holes, but I had no problem using just my fingers.

Each time a spring is inserted, you have to mark the other side with the correct number, so you'll be able to do the wiring correctly in later steps. I wondered why they didn't just do this ahead of time for the kit, but then I realized that it's good practice for a young electronics experimenter to mark off what's what when they're doing it. That's the way it works in the real world. Anyone who's had to remove all their spark plug wires at once will know what I'm talking about.
Now it's time to start inserting electronic components into the board. The young experimenter will learn how to identify many different parts, such as diodes, capacitors and resistors.
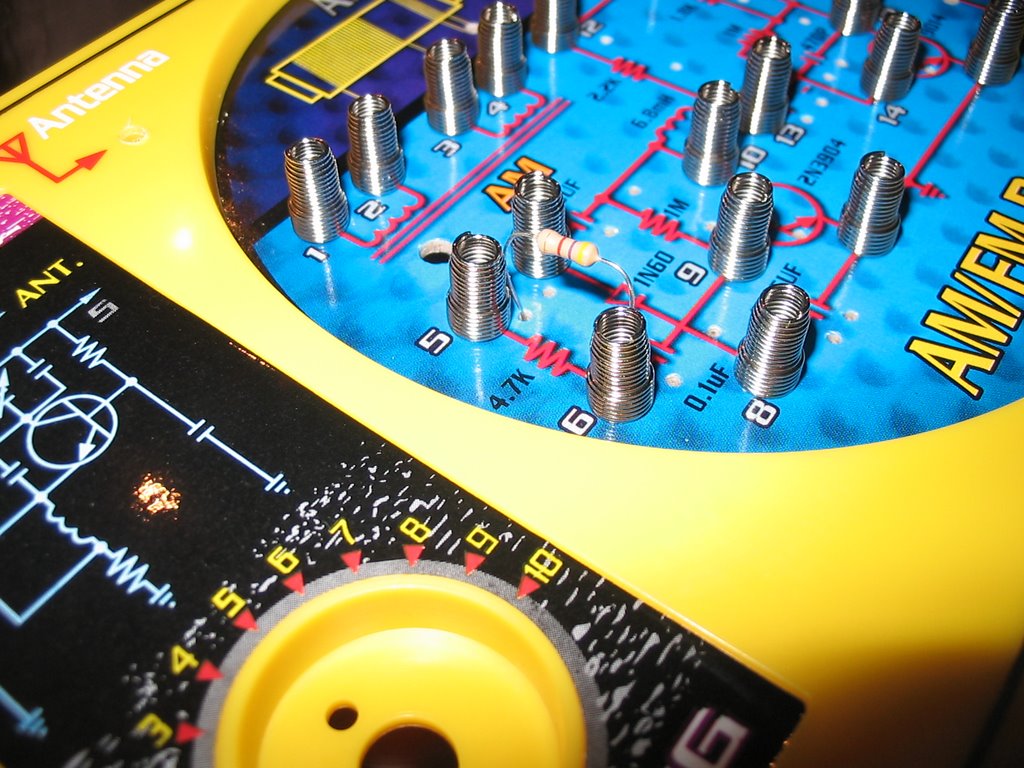
The actual connections for the electronic components are made on the back side of the plastic and cardboard template. That's why it was so important to label which hole was which.

Here's a view of the back of the kit after most of the components have been installed.

Then things get neatened up a bit with the wire cutters.

Now we have to add the battery and the FM tuning board.


Here's the fully assembled project, with the antennae added on the front.

At this point, the radio is configured to receive FM signals. It just takes a few easy wiring changes on the front of the panel to change it to an AM radio receiver.
Completing this project was a lot of fun, and the kit is an extremely cheap way to gather all the components necessary for learning about assembling a basic radio receiver. One oversight in the directions that I'd like to point out is that there isn't a good description of what's required to tune in different AM stations. I knew to slide the AM antenna coil along its bar due to my experience with electronics in general and with crystal radios in particular, but most folks using the kit probably wouldn't have known that.
If you're looking for more fun science toys and experiments, visit Edmund Scientific. I notice they've got a sweet deal on an electricity usage monitor, and a cool robot kit.
I'll be reviewing several other products soon. Check out my earlier review of the Megazooka!
Peace,
Tor
Tor has been paid to blog about the above topic via PayPerPost. If you are a blogger who would be interested in being paid to blog, please sign up at PayPerPost and fill in tor at torsrants dot com as your referral.